
3. Home Assistant
Installing Home Assistant on paperd.ink Classic
Home Assistant is currently only supported on Paperd.Ink Classic. It can take up to 20 minutes to install Home Assistant, so you might want to have a cup of coffee. Or five.
Setting up Home Assistant
- Visit the Home Assistant installation page and select the appropriate OS/Machine here →.
- Choose the Home Assistant Operating System method for installation.
- If you decide to use a different installation method, make sure to install the HA Supervisor to enable the installation of the ESPHome add-on, which is needed to communicate with Paperd.Ink.
You’ll need to do the following for Windows/Mac/Linux:
- Install a Virtual Image Hypervisor such as VirtualBox, KVM, Vmware Workstation, or Hyper-V.
- Download the corresponding image and unzip it.
- Set up a new VM with the given settings. (Pro tip: Make sure you select the Linux version “Linux 2.6 / 3.x / 4.x (64-bit)” and not Oracle Linux while setting up the VM).
- Load the appliance image into your virtual image hypervisor.
- You should now be able to access Home Assistant on homeassistant.local:8123 and see the message
Preparing Home Assistant (this can take up to 20 minutes)on your screen. You can then register and log in.
Setting up ESPHome addon
- Click on the sidebar icon to go to HA
Settings. - From the menu, go to
Add-Ons. - Click on the
Add-On Storebutton located on the bottom right of the screen. - Search for
ESPHomeand install it. - Follow the on-screen instructions to complete the setup process.
- Enable
start on boot,Watchdog, andShow in sidebaroptions. Click onSTART. ESPHomeshould now appear on your HA sidebar.
More instructions available here →
Installing ESPHome on Paperd.Ink
Currently, only Google Chrome browser seems to be supported for the following steps.
- Connect your Paperd.Ink to your computer via a USB cable.
- Go to ESPHome Dasboard → and click on
Connect, then select your Paperd.Ink device from the dropdown. - Click on
Prepare for first useandInstallon the popup. - After a successful installation, enter the same Wi-Fi details as the HA installation and access.
- It will provision the device and show a
Provisioned!success message. ClickClose. - Go to the
ESPHomepage on the HA sidebar and click onAdoptto create a new device name. - Install it and close the page once you see
INFO Successfully uploaded program.
Configuring Paperd.Ink
- Go to
ESPHomepage from your HA sidebar. - Click on
Editunder the device you created in the previous step. - Copy paste the configuration provided below the existing configuration and make sure the identation is correct.
output:
  - platform: gpio
    pin:
      number: 12
    id: enable_epd

font:
  - file:
      type: gfonts
      family: Source+Sans+Pro
      weight: 900
    id: source_sans_pro_25
    size: 25

spi:
  clk_pin: GPIO18
  mosi_pin: GPIO23
  miso_pin: GPIO19

display:
  - platform: waveshare_epaper
    cs_pin: GPIO22
    dc_pin: GPIO15
    busy_pin: GPIO34
    reset_pin: GPIO13
    model: 4.20in
    update_interval: 3600s
    lambda: |-
      id(enable_epd).turn_on(); // Turns on E-paper
      it.printf(200, 150, id(source_sans_pro_25), TextAlign::BASELINE_CENTER, "%s", "Hello World from HA!");
      id(enable_epd).turn_off();// Turns off E-paper
- Click
Save, thenInstall, and thenWirelesslyto install it on your Paperd.Ink. - You should now see
Hello World from HA!displayed on your Paperd.Ink.
Advanced Config
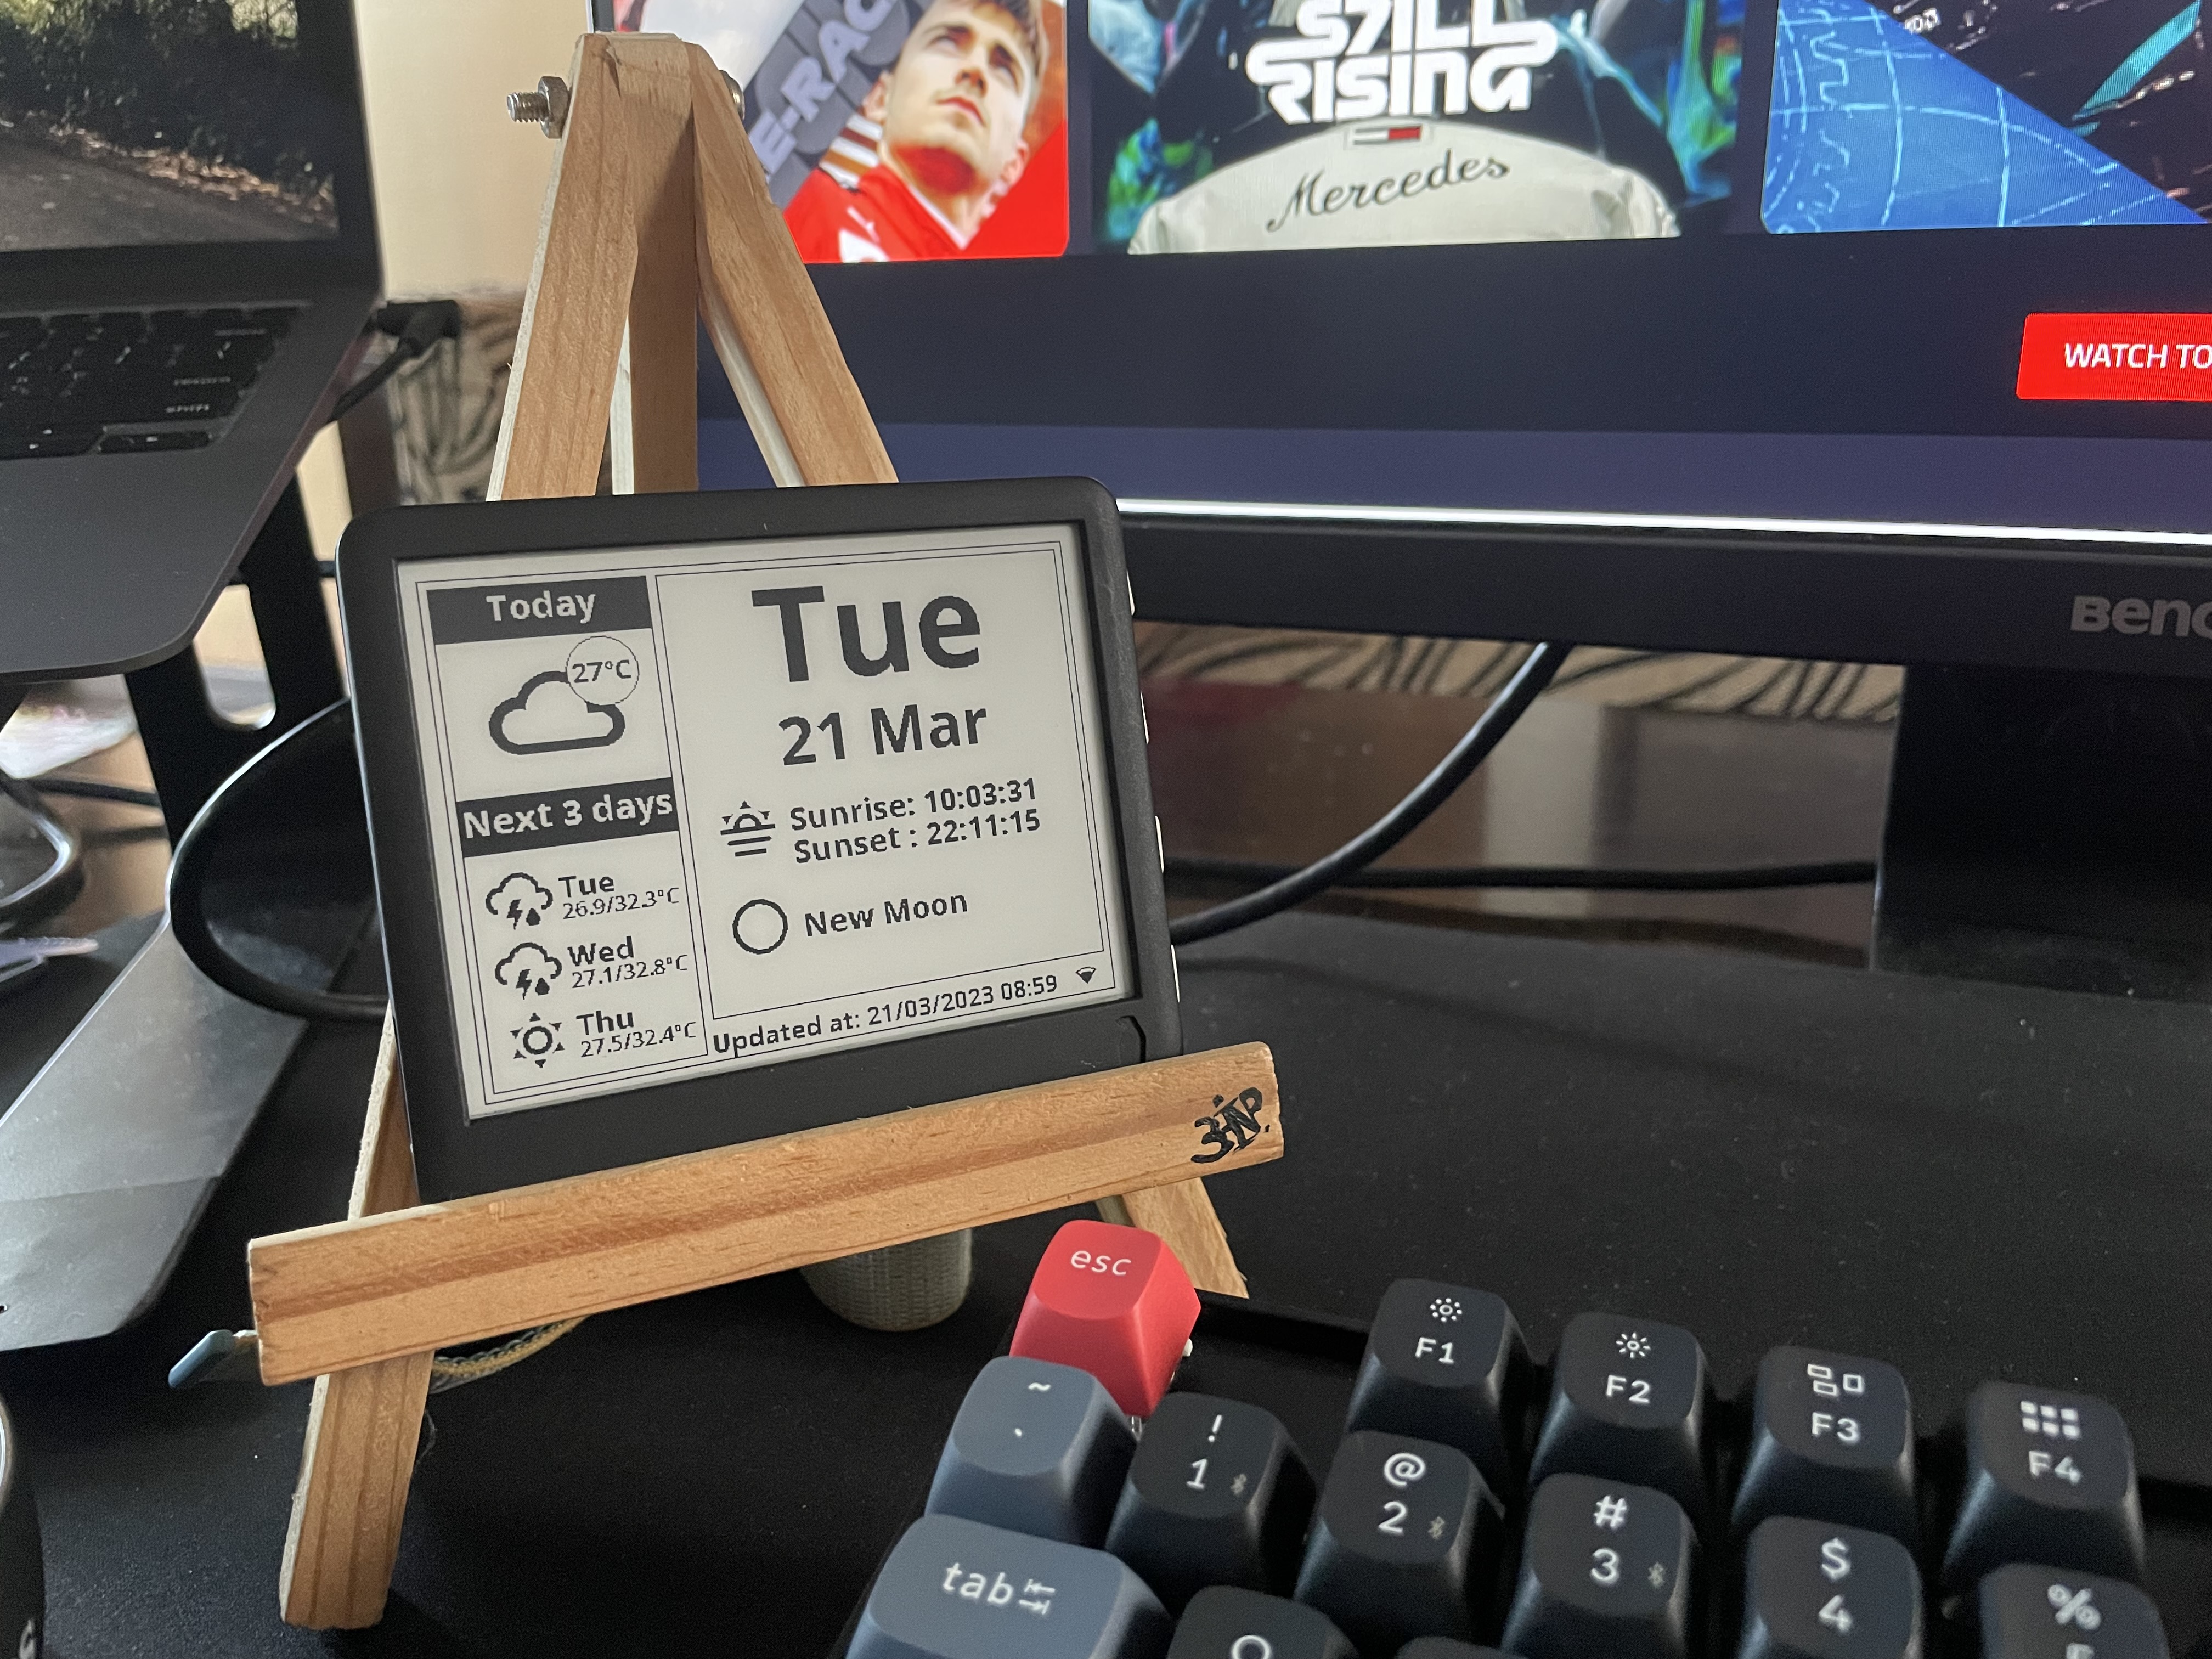
For a more advanced config which shows weather forecast, day and date, checkout our blog →